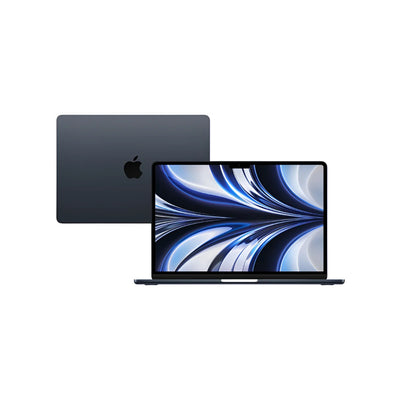



 MacBook Air
 MacBook Pro 13"





How to Replace the Display on a MacBook Air M1 (A2337, 2020): Step-by-Step Guide
Replacing the A2337 display, step by step.
MacBook Air 13-inch M1, 2020. What you need, which models the part fits, how hard it really is, and every step in order, with approximate illustrations to follow along.

The short answer
- Difficulty: Moderate. Time: 30 minutes to 1 hour.
- Fits: A2337 (EMC 3598, MacBookAir10,1), 3.2 GHz M1, both the 7-core and 8-core GPU versions. Our listing is for EMC 3598.
- Parts: from ₹22,990 on our site, with product links at the bottom.
- Chennai? Buy the part on our website and we will fit it for free at our partnered store.
Buy the display on sparesonly.in and get it replaced for free at our partnered store in Chennai. Ask Aparna for free guidance on WhatsApp before you buy, and she will confirm the right part for your Mac.
The step order, screw sizes and tools were compiled and paraphrased from published repair documentation for this model, and screen specifications from Apple tech specs where Apple still publishes them. We have not yet photographed this repair on our own bench, so the drawings are illustrations of the approximate layout, not photos of a real unit. Parts prices and stock come from our listings, read on 31 Oct 2026.
What do you need before you start?
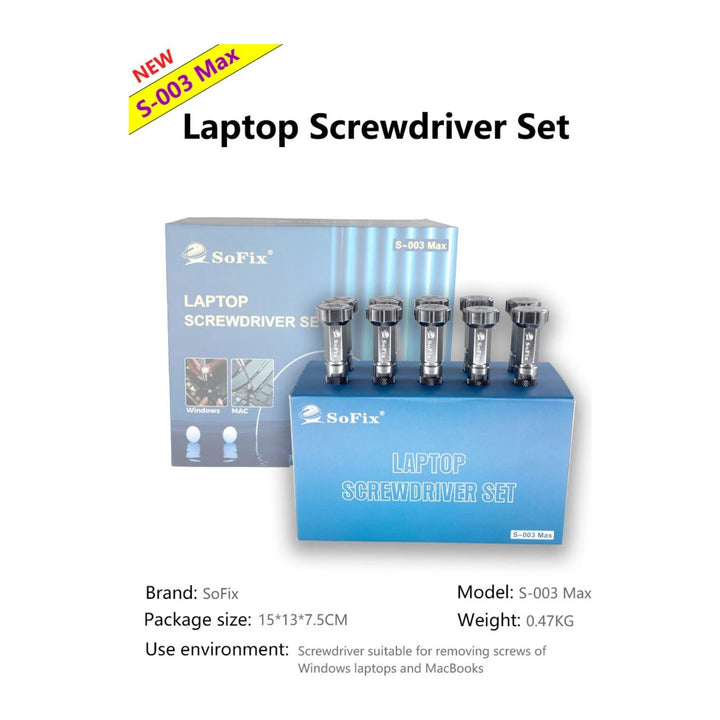
- P5 pentalobe screwdriver
- T3, T4 and T5 Torx
- T8 Torx (security bit) for the hinges
- Spudger
- Tweezers
- Magnetic mat
- Power off and unplug. Some guides turn off Auto Boot first; on Big Sur 11.1 and later that may not work, so disconnect the battery as soon as the case is off.
- A cover plate sits over each connector; keep screws from each cover in separate marked spots.
Display specifications
| Item | Detail |
|---|---|
| Screen | 13.3-inch LED-backlit IPS |
| Resolution | 2560 x 1600, 227 pixels per inch |
| Brightness, colour, True Tone | 400 nits (Apple tech specs, checked earlier), wide colour (P3), True Tone: yes (repair-guide data; we could not open Apple’s own M1 Air spec page) |
| Compatible models | A2337 (EMC 3598, MacBookAir10,1), 3.2 GHz M1, both the 7-core and 8-core GPU versions. Our listing is for EMC 3598. |
| Difficulty and time | Moderate; 30 minutes to 1 hour |
Step by step: replace the A2337 display
Remove the lower case
Remove ten P5 screws: two 7.9 mm, two 7.3 mm and six 2.6 mm. Pry the case up from the front edge. Two hidden clips must snap back in on reassembly.
Disconnect the battery
Lift the metal locking arm on the battery connector with a spudger, then lift the connector straight up.
Unplug the antenna and display cables
Remove the 1.4 mm T3 screw on the antenna cable cover and unplug the two antenna cables with tweezers, gripping close to the base. Remove two 1.5 mm T3 screws on the display cable cover and pry the connector off its board with a spudger.
Remove the antenna bar
Remove six T5 screws: four 7.4 mm silver and two 4.7 mm black. Lever the bar up from the hinge end; it is held with light adhesive.
Remove the hinge screws
Take out two 5.0 mm T8 screws from each hinge, leaving the centre screw. Open the Mac fully, lay it on its side and remove the last two.
Lift the display away
Close the display to about 90 degrees and slide the hinges out through the bottom of the case.
Putting it back and testing
- Reconnect the display cable by pressing one side at a time.
- The Mac may not switch on until it is plugged in after the repair.
- There is no Touch ID or camera cable in this procedure; Touch ID has its own part.
While the case is open, you can also replace the battery: see our A2337 battery guide.
On the Macs that have it, True Tone may stop working on some replacement panels, because the colour calibration belongs to the original display. If it matters to you, ask Aparna before ordering which grade keeps it.
Questions we get asked
Can I replace the display myself?
It is rated moderate in the published repair documentation we compiled this from, and takes 30 minutes to 1 hour. The risks are the fragile cables, small screws and, on Touch Bar models, the Touch Bar connector. If you are in Chennai, you can skip the risk: see the box above.
Will True Tone or the colours change?
On a genuine or matching panel they should not. Repair guides warn that True Tone may not work on some replacement displays, and that Apple’s own support site says non-genuine replacement displays may have compromised visual quality. Ask Aparna which grade your listing is.
Which display do I order?
Match the A-number and the EMC on your underside to the compatibility line above. If the listing names several A-numbers, check that yours is one of them. Our model guide shows how to read them.
Is it worth repairing, or should I buy another Mac?
Compare the display price with a pre-owned unit of the same model. Our repair or replace guide does that sum.
Parts and approximate cost
| Product | Approx. cost | Stock when checked |
|---|---|---|
| A2337 MacBook Air M1 13.3 inch LCD display assembly, EMC 3598 | from ₹22,990 | 18 in stock |
Prices are the lowest listed price on 31 Oct 2026 for parts only, and change. Fitting is free in Chennai only for parts bought on sparesonly.in. Ask Aparna for the total before you order.
Want it fitted, or not sure of the part?
Send Aparna a screenshot of About This Mac or a photo of the underside showing the A-number. In Chennai, buy the part on our website and we will replace it for you at our partnered store for free. Elsewhere in India, she will confirm the part and share these steps with you.
- Apple tech specs for this model (111883)
- Apple Support: warning about counterfeit parts and non-genuine replacement displays
- Product listings on sparesonly.in, read 31 Oct 2026
Apple, MacBook Air and MacBook Pro are trademarks of Apple Inc. This site is independent and has not been authorised, sponsored or approved by Apple Inc.